In this article, learn how to use FastAPI to package trained machine learning models behind a clean, well-validated HTTP API, from training to local testing to basic production hardening.
Topics covered include:
- Train, save, and load scikit-learn pipelines for inference
- Build FastAPI apps with strict input validation with Pydantic
- Publish, test, and harden predictive endpoints with health checks
Let’s take a look at these techniques.

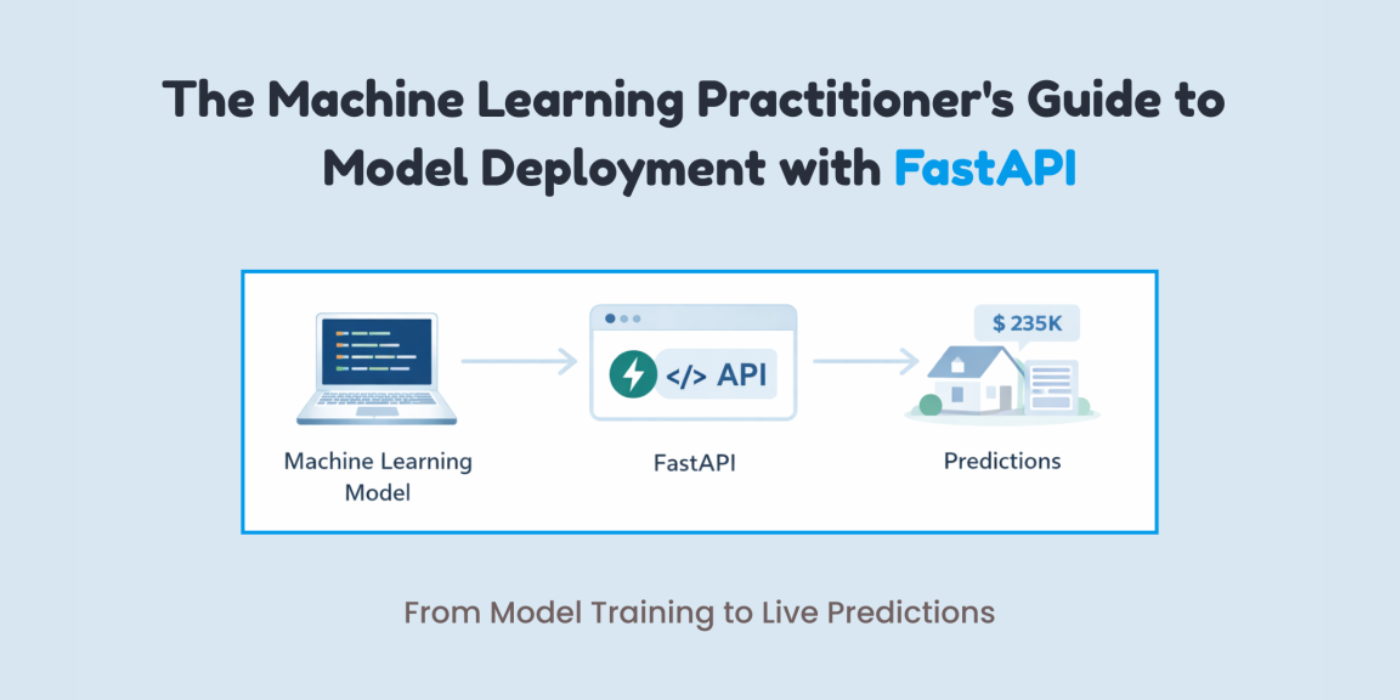
Machine Learning Practitioner’s Guide to Model Deployment with FastAPI
Image by author
If you’ve trained a machine learning model, common questions arise: “How do you actually use it?” This is where many machine learning practitioners get stuck. Not because it’s difficult to implement, but because it’s often poorly explained. Deployment is not about uploading files. .pkl Create the file and hope it works. This simply means that another system can send data to the model and retrieve predictions. The easiest way to do this is to put your model behind an API. Fast API It makes this process easier. Connect machine learning and backend development in a clean way. It’s fast and provides automatic API documentation. Swagger UIvalidate input data and keep your code easy to read and maintain. If you already use Python, FastAPI will come naturally to you.
In this article, you will learn step-by-step how to deploy a machine learning model using FastAPI. In particular, you will learn:
- How to train, save, and load machine learning models
- How to build FastAPI apps and define valid inputs
- How to create and test a prediction endpoint locally
- How to add basic operational functionality such as health checks and dependencies
Let’s get started!
Step 1: Train and save the model
The first step is to train the machine learning model. I’m training a model that learns how different characteristics of a home affect its final price. Can be used with any model. Create a file called train_model.py:
|
1 2 3 4 5 6 7 8 9 10 11 12 13 14 15 16 17 18 19 20 twenty one twenty two twenty three twenty four |
import panda as PD from Scran.linear model import linear regression from Scran.pipeline import pipeline from Scran.Pretreatment import standard scaler import job rib # Sample training data data = PD.data frame({ “room”: (2, 3, 4, 5, 3, 4), “year”: (20, 15, 10, 5, 12, 7), “distance”: (10, 8, 5, 3, 6, 4), “price”: (100, 150, 200, 280, 180, 250) }) × = data((“room”, “year”, “distance”)) y = data(“price”) # pipeline = preprocessing + model pipeline = pipeline(( (“Scaler”, standard scaler()), (“model”, linear regression()) )) pipeline.fit(×, y) |
After training, you need to save your model.
|
# save the entire pipeline job rib.garbage(pipeline, “house_price_model.joblib”) |
Then run the following line in your terminal:
Your trained model and preprocessing pipeline are now safely stored.
Step 2: Create a FastAPI app
This is easier than you think. Create a file called main.py:
|
from fastapi import Fast API from despicable import base model import job rib app = Fast API(title=“Housing Price Prediction API”) # Load the model once at startup model = job rib.load(“house_price_model.joblib”) |
Your model now looks like this:
- loaded once
- memorable
- ready to provide predictions
This is already better than most beginner deployments.
Step 3: Define the inputs the model expects
This is a problem in many deployments. Your model does not accept “JSON”. Accepts numbers within a specific structure. FastAPI explicitly enforces this using Pydantic.
You may be wondering what Pydantic is. pidantic is a data validation library used by FastAPI to ensure that the input the API receives exactly matches what the model expects. Automatically check data types, required fields, and formats before requests reach your model.
|
class house input(base model): room: integer year: float distance: float |
This does two things:
- Validate received data
- Document your API automatically
This eliminates the question “Why does my model crash?” I’m surprised.
Step 4: Create a prediction endpoint
Next, you need to create a prediction endpoint to be able to use your model.
|
@app.post(“/predict”) surely Predicted price(data: house input): Features = (( data.room, data.year, data.distance ))
prediction = model.predict(Features)
return { “Predicted price”: round(prediction(0), 2) } |
That’s the deployed model. You can now send a POST request to get predictions.
Step 5: Run the API locally
Run the following command in your terminal:
|
ubicorn major:app —reload |
Open your browser and navigate to:
|
http://127.0.0.1:8000/document |
You’ll see:
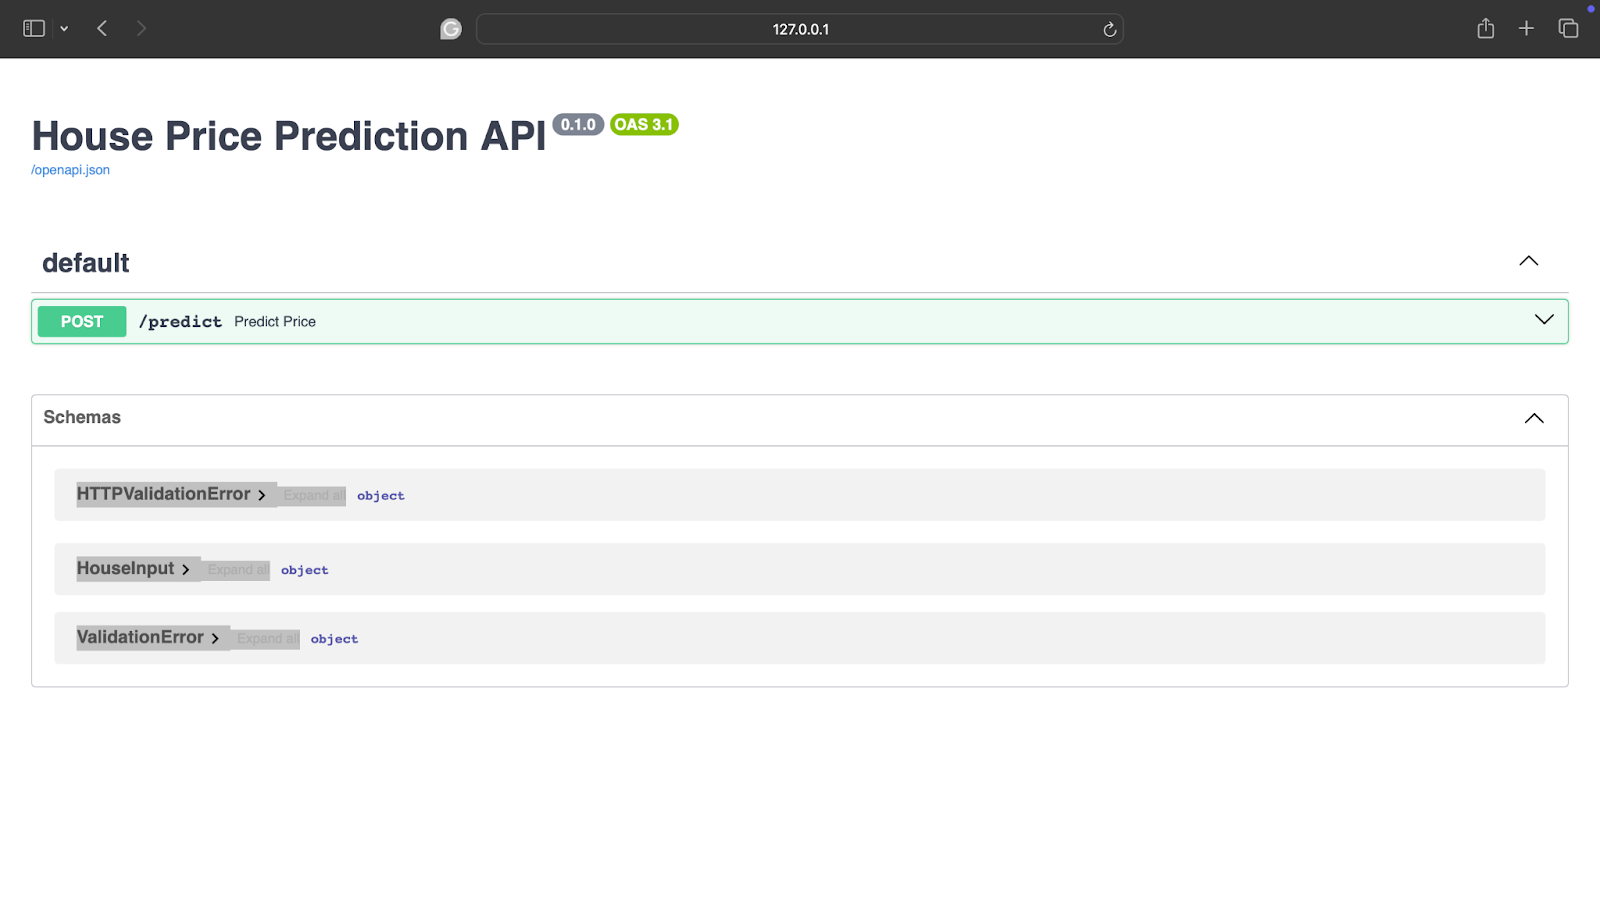
If you’re confused about what that means, it basically looks like this:
- Interactive API documentation
- Form for testing the model
- Real-time verification
Step 6: Test with real input
To test, click the next arrow.
![]()
After this, click “Try it”.
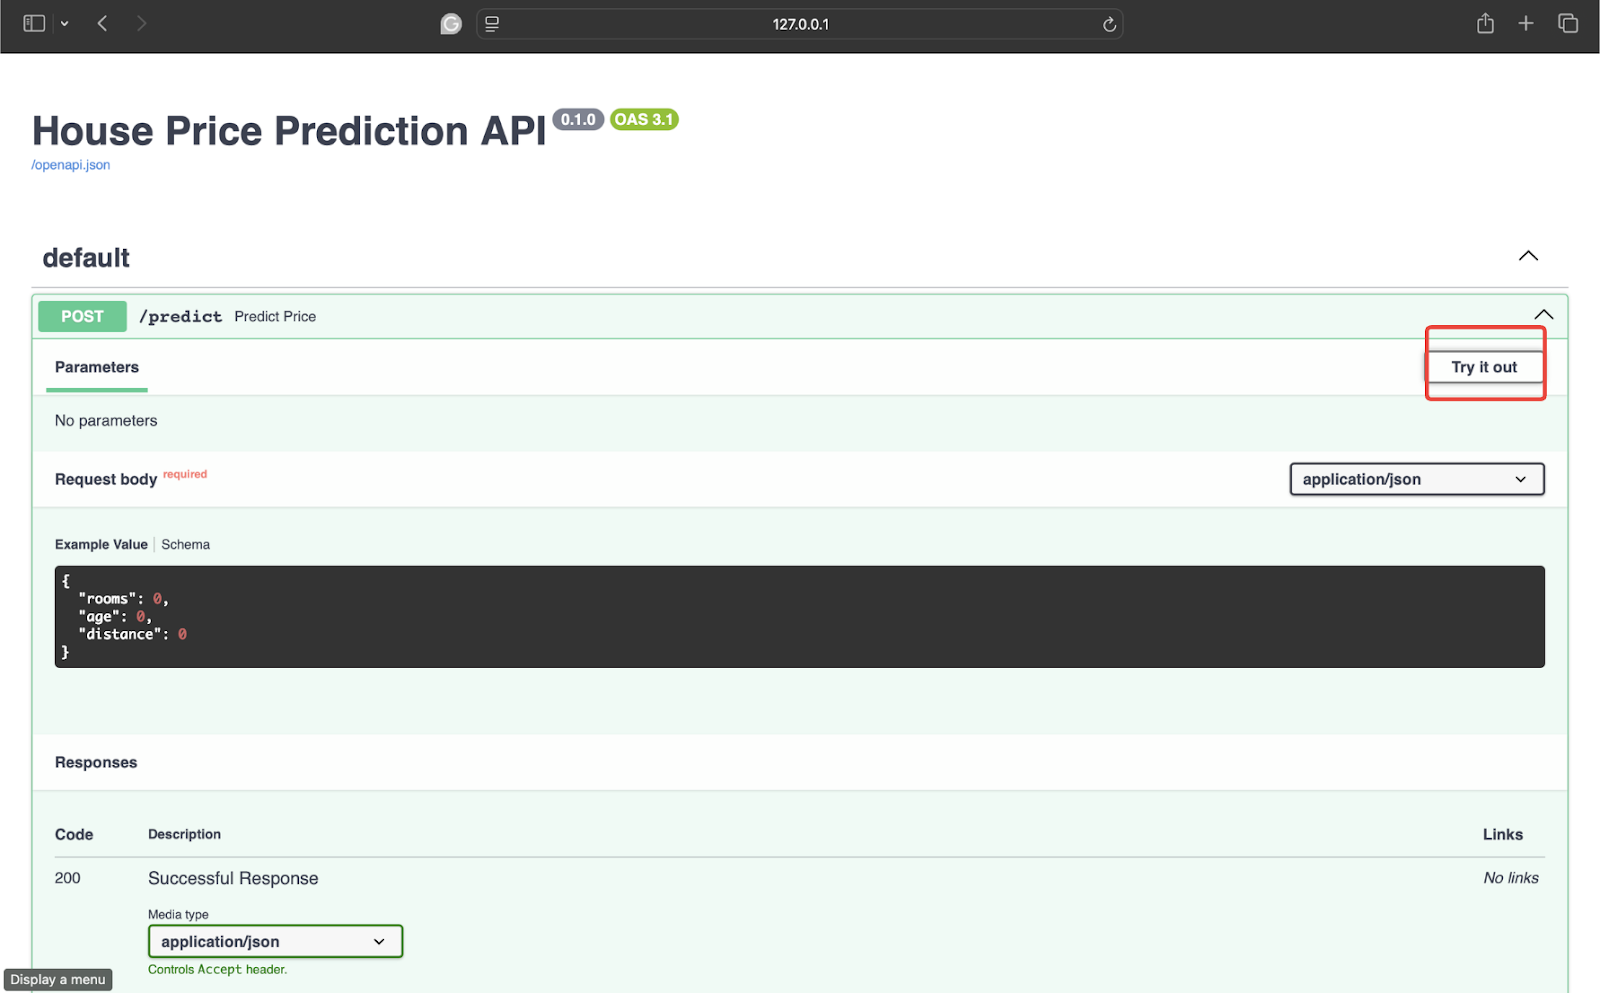
Next, test it with some data. I am using the following values:
|
{ “room”: 4, “year”: 8, “distance”: 5 } |
Then click Run to get the response.

Here is the response:
|
{ “Predicted price”: 246.67 } |
Your model is ready to accept real data, return predictions, and integrate with your app, website, or other service.
Step 7: Add health checks
Although you don’t need Kubernetes from day one, consider the following:
- Error handling (in case of invalid input)
- Prediction logging
- Model versioning (/v1/predict)
- Health check endpoint
for example:
|
@app.obtain(“/health”) surely health(): return {“situation”: “got it”} |
Simple things like this are more important than fancy infrastructure.
Step 8: Add the Requirements.txt file
This step may seem small, but it’s one of those things that will secretly save you money after a few hours. Your FastAPI app might work perfectly on your machine, but the deployment environment won’t know which libraries were used unless you tell it to. That’s exactly right requirements.txt It’s for. This is a simple list of dependencies your project needs to run. Create a file called requirements.txt and add:
|
fastapi ubicorn sckit–learn panda job rib |
Now, when anyone needs to set up this project, they can just run the following line:
|
pip install –r requirements.TXT |
This will ensure that your project runs smoothly without any missing packages. The overall project structure looks like this:
|
project/ │ §── train model.pie §── major.pie §── house price model.job rib §── requirements.TXT |
conclusion
Your model has no value until someone can use it. FastAPI does not make you a backend engineer. It simply removes the friction between the model and the real world. And once you deploy your first model, you stop thinking like a “person training a model” and start thinking like a practitioner shipping a solution. Don’t forget to check it out FastAPI documentation.